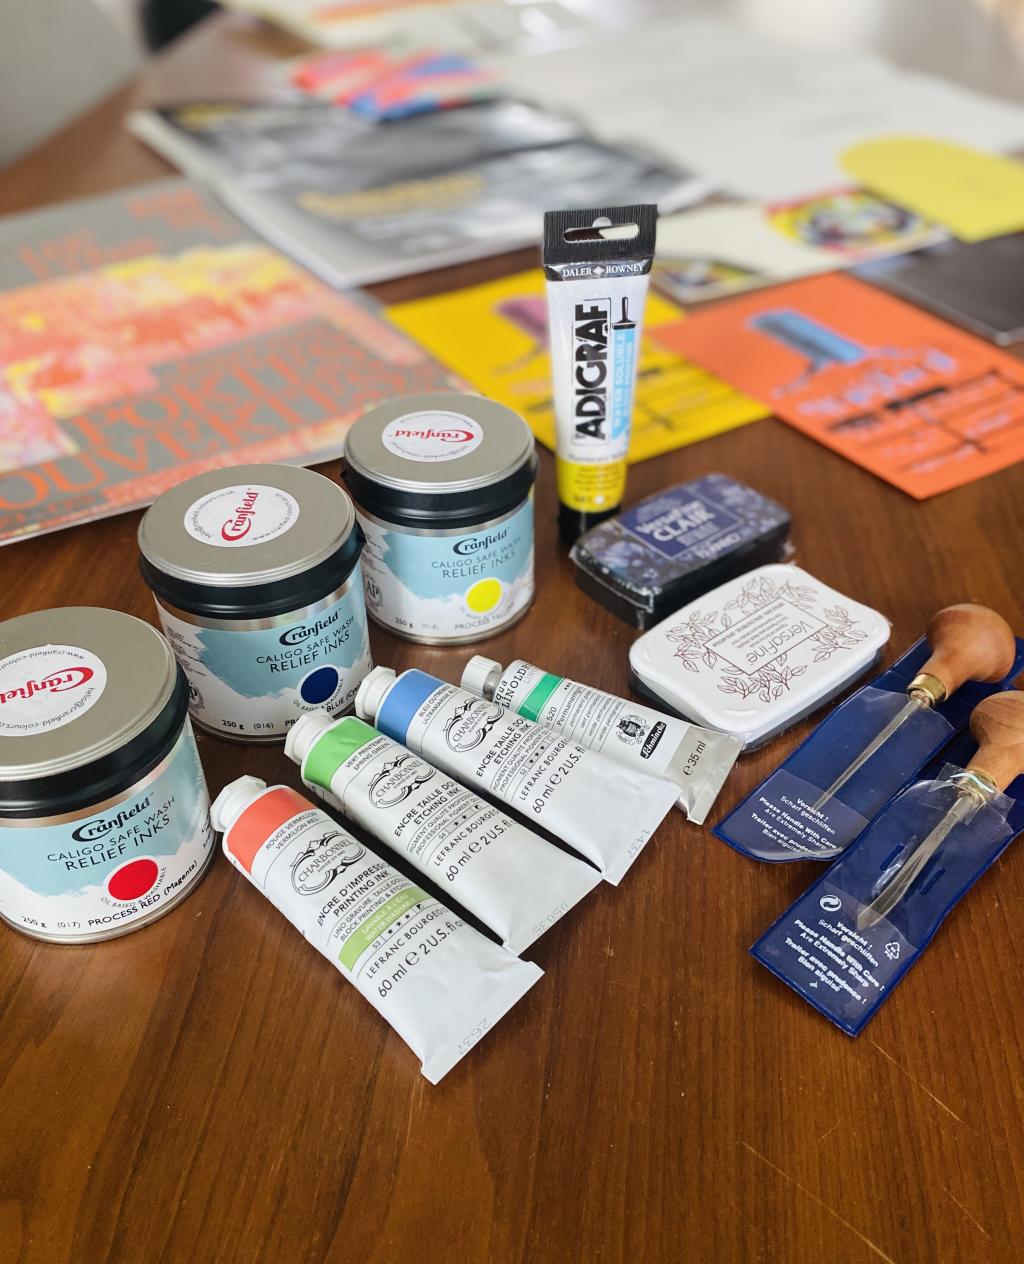
I just held a peacock in my hand. A Royal Delft Peacock Symphony cup to be precise. It felt like a special moment, as I had created a series of reduction prints of these popular cups last September without having held one in my hand.
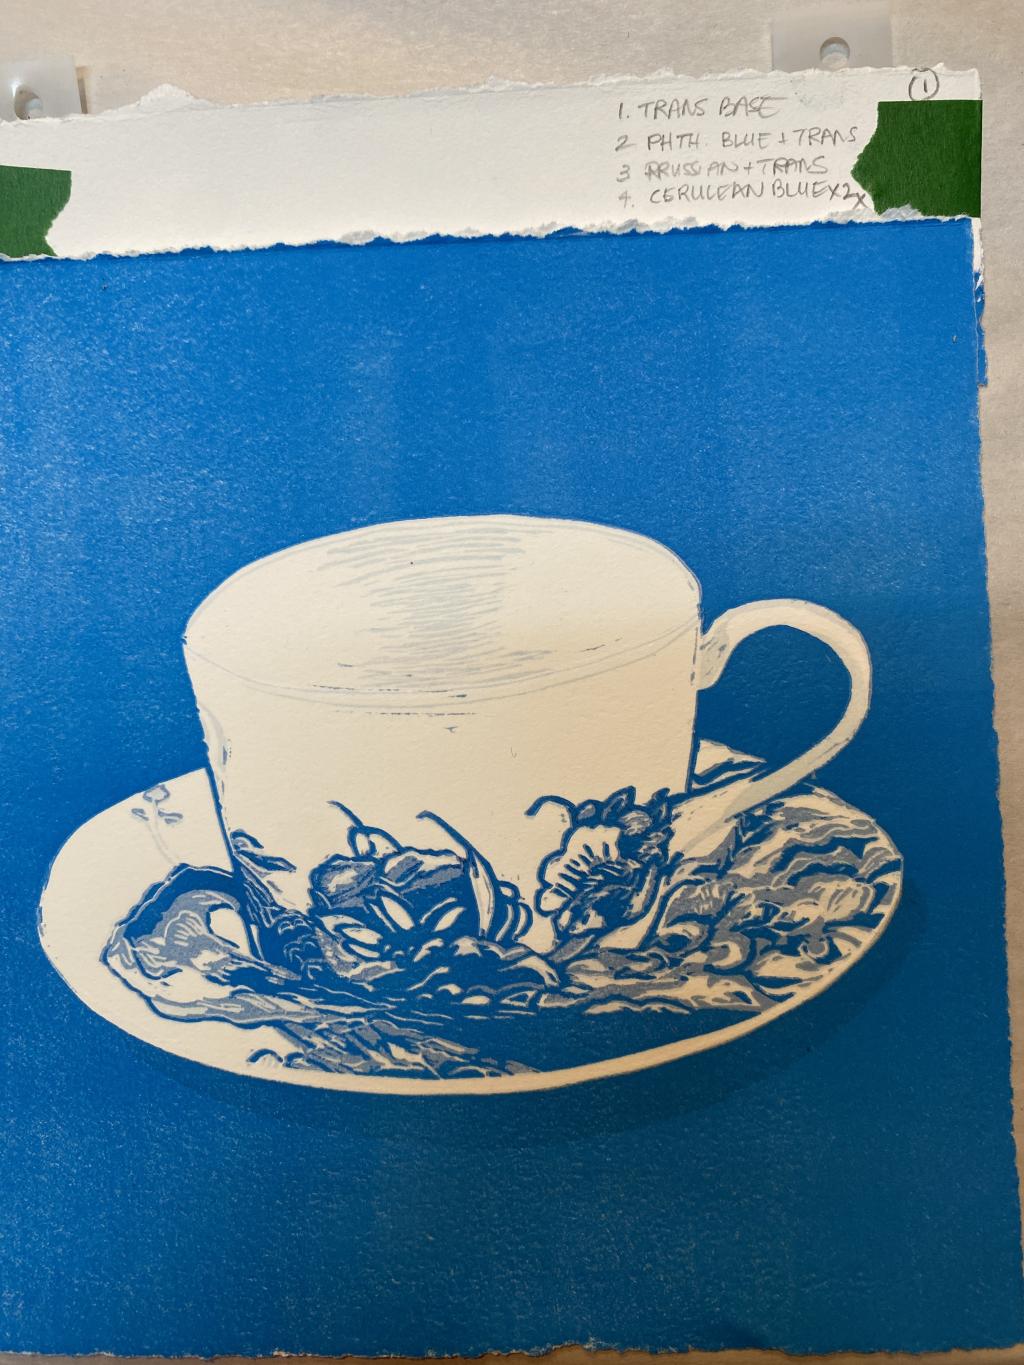
The real cup and my art print side by side.
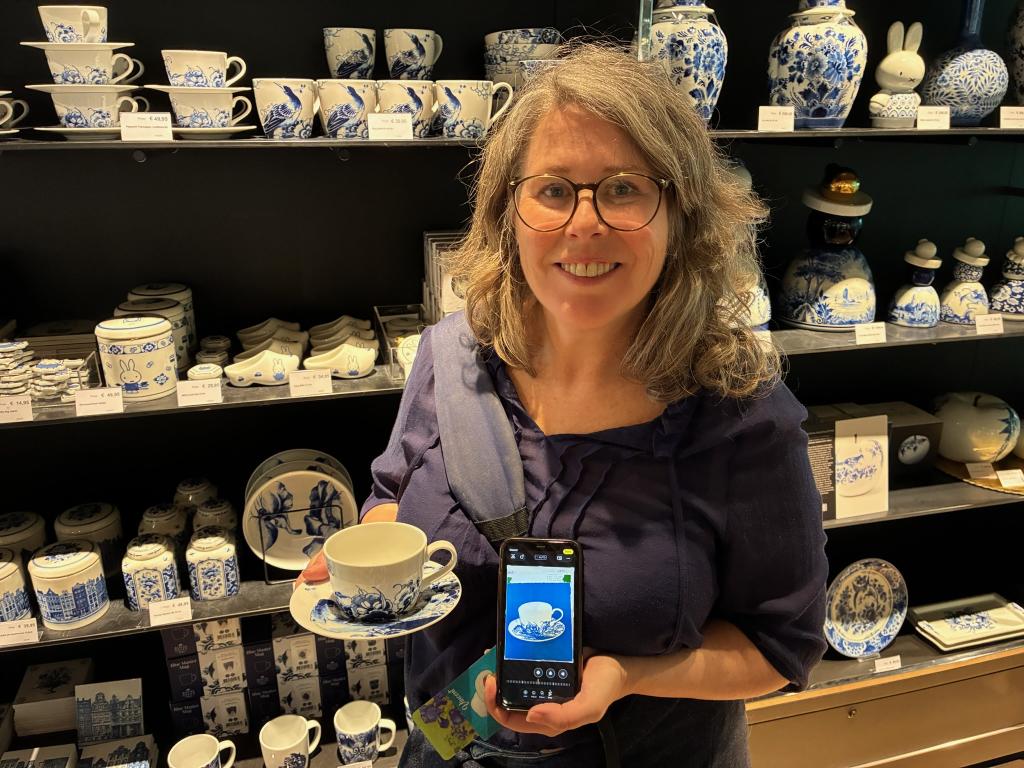
In an effort to connect with the clerk at the Schiphol Airport museum store, I showed her a photo of my print. She thought I was claiming to be a designer for Royal Delft and said she didn’t realize they had non Dutch designers! We laughed once she realized what I was trying to explain.
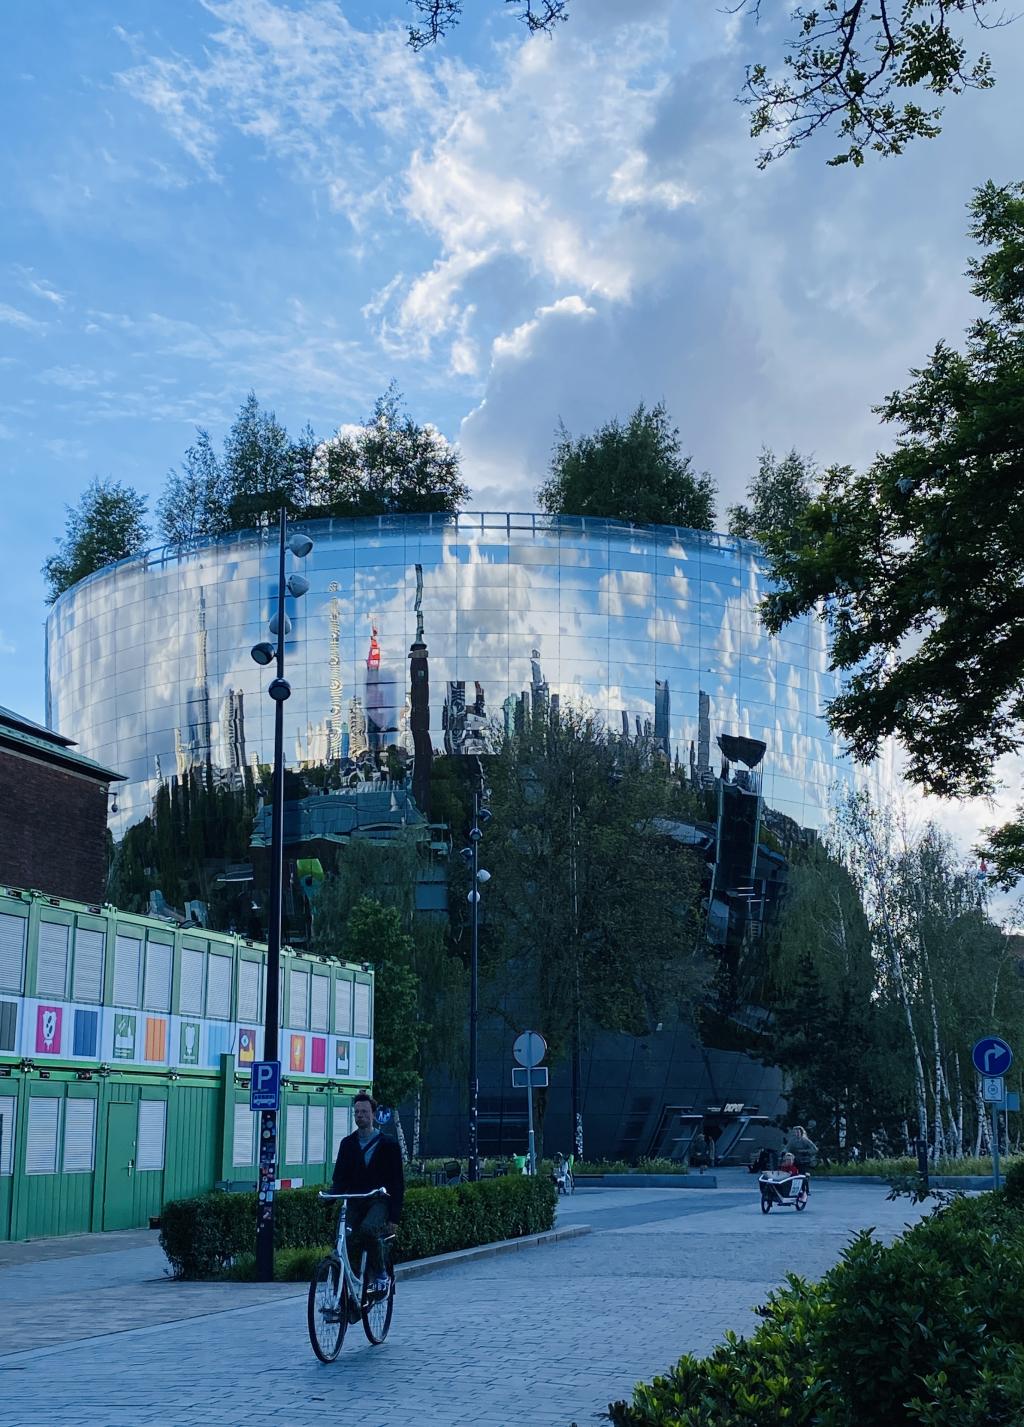
We didn’t have enough time in Rotterdam to make a day trip to Delft so we’ll need to come back. Seeing the making of hand-painted porcelain since the late 1600s sounds like an excellent reason to come back. Next time I’ll bring an actual print to leave behind.
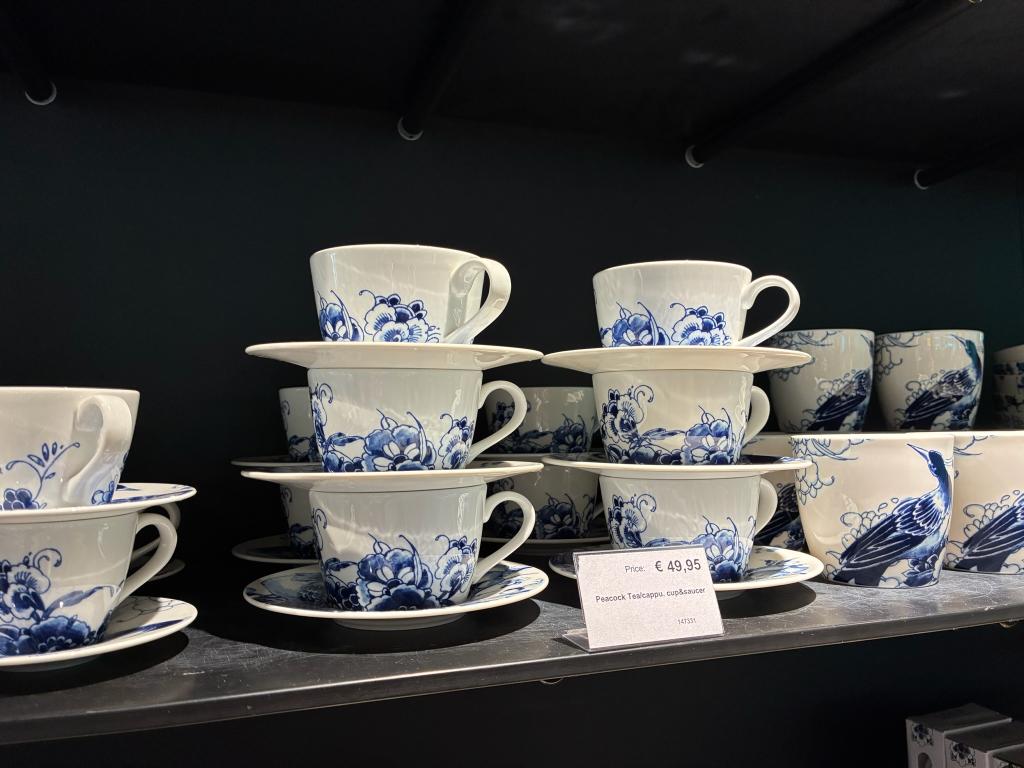
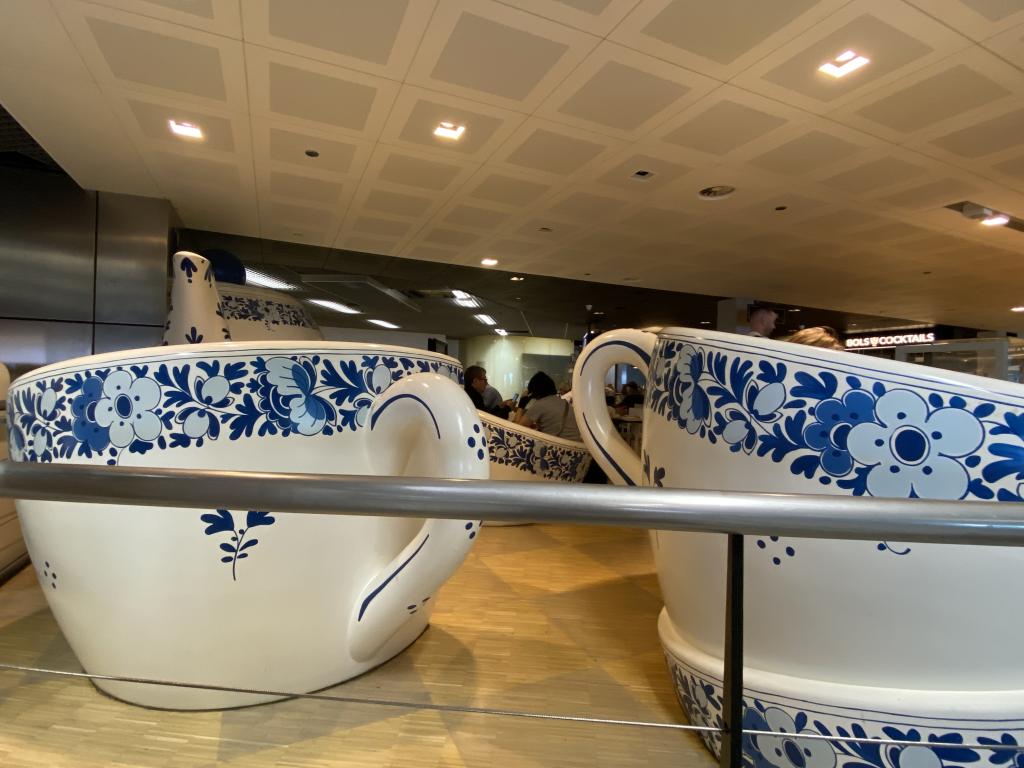
And if I haven’t shown you enough cups yet, how about these “eat in” versions?!